
Hello folks, are you ready for a quick but intense wood carving tutorial? I suggest you buckle up, as I’m about to share some rare tips regarding wood carving. During years of wood carving experience, I have worked with some amazing craftsmen as well as with absolute beginners. And I have taught people of various ages how to carve: I have seen some old men getting into wood carving once retired, but also primary and secondary school kids, here you can find organic Beeswax.
So, as you might imagine, there’s no right age to start whittling. All it takes is passion and willingness to learn. And learning is exactly what we are about to do. Read my wood carving tutorial to find out more about basic equipment, wood types, and processing styles you could employ.
Which Equipment Do I Need?
It depends on how high you are aiming! If you wish to start simple, just to try it out and see how it feels, you literally don’t need anything except a really sharp knife. It would of course be best if you would buy a knife specifically crafted for carving the wood, however, any pocket knife would do for the start.
If it goes all right, at some point you will want to expand your knife assortment in order to be able to make more diverse designs. You will then realize that there are many types of knives, and this might seem confusing. However, all these types can be sorted into three main categories:
- straight knives – these are classical knives, with a straight, one-sided edge
- chisels – these cutters are U or V-shaped, making the same shape of incisions in the wood
- hook knives – also known as spoon knives, meant for hollowing holes in the wood.
Buying one knife out of every category I just mentioned will be more than enough for some time. It will give you lots of opportunities to practice and try out new designs.
Along with the knives, you will want to have the sharpening equipment, in case knives get dull. In wood carving, we make knives sharp with strops, sharpening stones and sandpapers. Don’t forget that strops are made of leather and need a compound (a chalk-like material) to work properly.
I noticed that when speaking to beginners, lots of my colleagues tend to focus on wood processing and forget to tell them about safety. Always use protective gloves. Always, as knives which are made for cutting timber can make severe damage to your hands. Also, be sure to have some kind of disinfectant and first aid kit at hand in case something happens.
As you get into carving, you will see that there is a variety of electric machines you can use for larger projects. We will speak about that another time, as here we only focus on beginners.
Which Wood Should I Use?
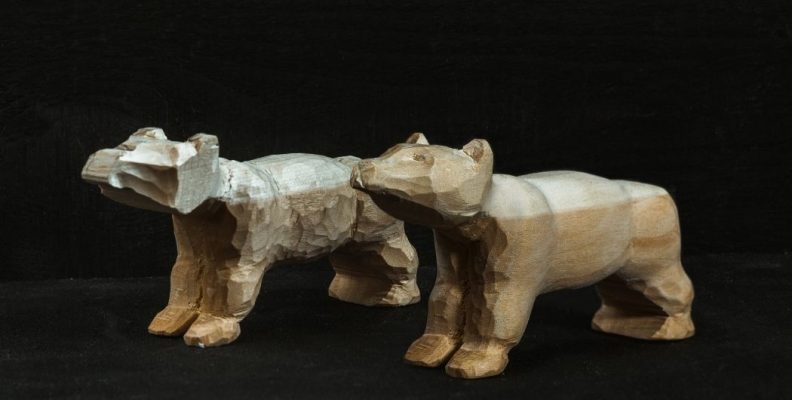
Most beginners are advised to start with basswood. It’s a hardwood (in wood carving, we roughly categorize woods into hardwoods and softwoods), but still very easy to process and shape. Working with it doesn’t take much effort, and it has a very nice color. Later on, you can try out more demanding woods such as oak or rosewood, which are more beautiful and colorful, but more sturdy and difficult to cut.
What Kinds of Design Can I Make In Wood?
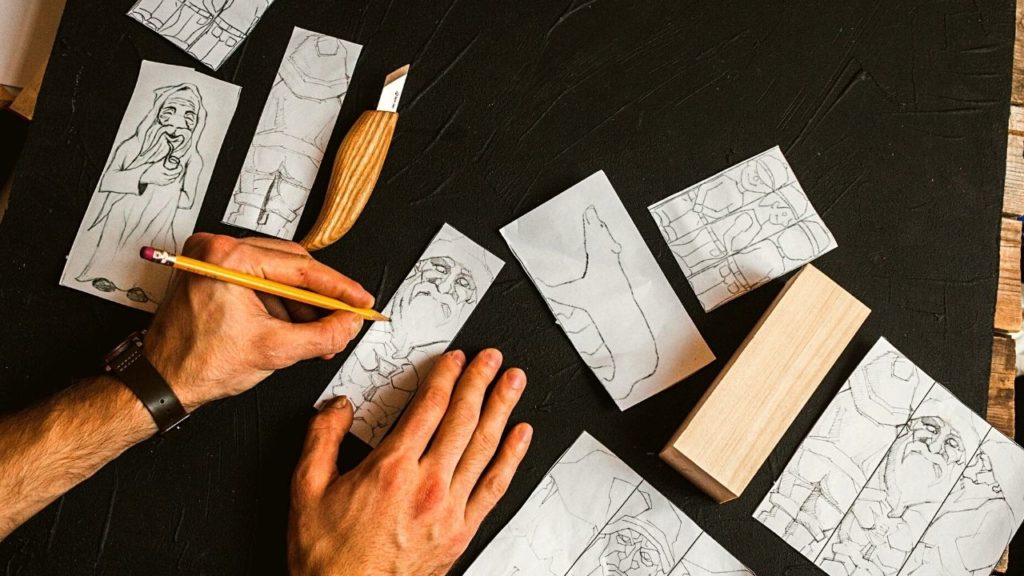
There are several processing styles we use in wood carving, which I’m about to describe. Keep in mind that it’s only a sketchy categorization, and inter-types, as well as combinations, are possible.
- whittling: this is the most basic way to carve. You don’t use anything except your hands and knives.
- chip carving: here, you remove pieces of wood by hitting the chisel with a hammer or another tool
- relief carving: instead of full 3d sculptures, you make only shallow crevices in the wood
- power carving: here you will need some quite expensive, electric machines, which will help you drill, turn or cut wood chunks symmetrically.
These are only techniques we use to cut the wood, but it is your creativity and/or business needs that will decide on the design. You can get design ideas online, ask your grandpa or explore your local wood carving traditions. Sometimes it takes only to print the pattern on your wood chunk and start cutting, while sometimes just browsing pictures can spark your imagination.
To Wrap Up
Now that you know basic stuff, the rest is on you. As with any other craft, wood carving requires lots of patience, love, and time to master. Be sure to keep your fingers from the cuts, let your creativity go, and work your magic!